Medal holder

No Comments »

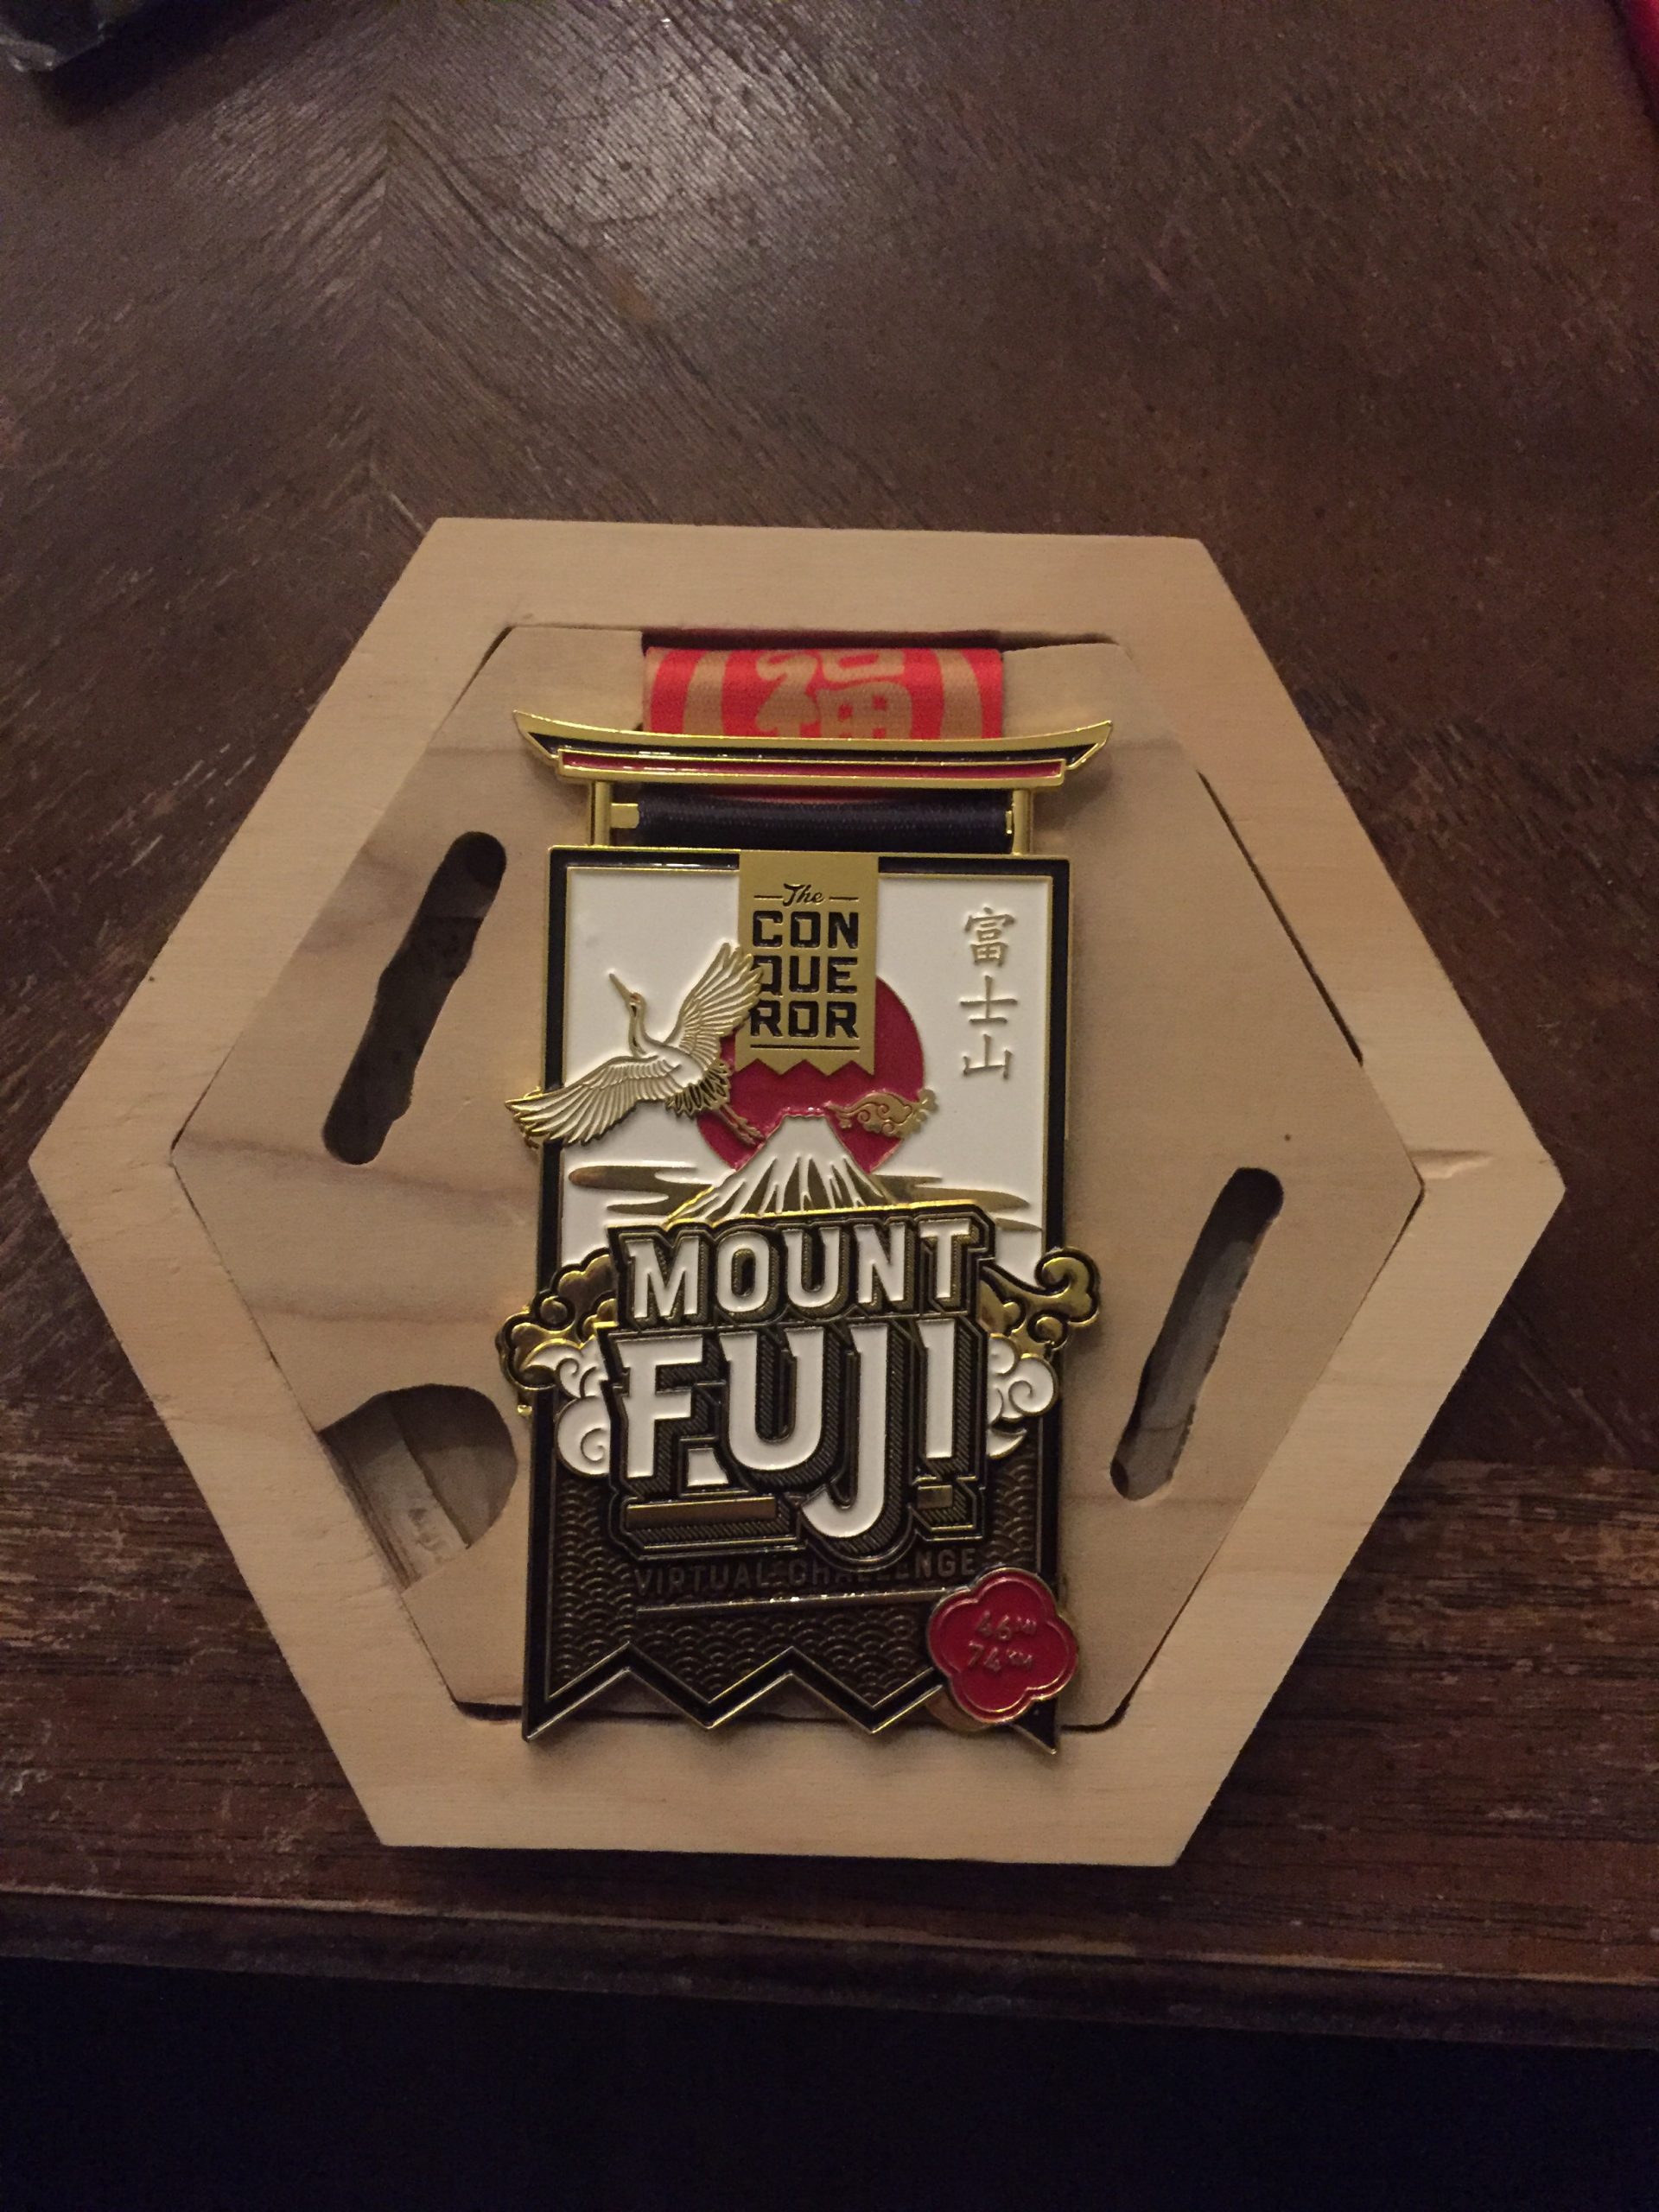
Earlier in the year, I completed one of those My Virtual Mission challenges. The deal is you pick a challenge to do (each with varying trail lengths), and pay to sign up on the website. You track your progress via fitness app or manually, and along the way, you are sent virtual postcards and can see your progress on a map with street view. When you’re done, they send you a shiny medal. I fell in love with the medal for Mt. Fuji, and signed up. I wasn’t really sure how long 74 kms would take me considering I wasn’t walking much in the winter, but I managed to get it done within 21 days. Anyway, they released these medal holders (which were too spendy and sold out quickly anyway), so I decided to make my own. 

I found plans online and we headed out to Home Depot for supplies. I spent about $200 on materials, including a router and bits which I’d always wanted to get anyway. 

My friend reprinted the plans in CAD and we got them paper printed at mom’s. Then it was a matter of transferring the design to wood. I managed to get a scrap piece from HD to practice on first. SMRT. And awaaayyy we went!

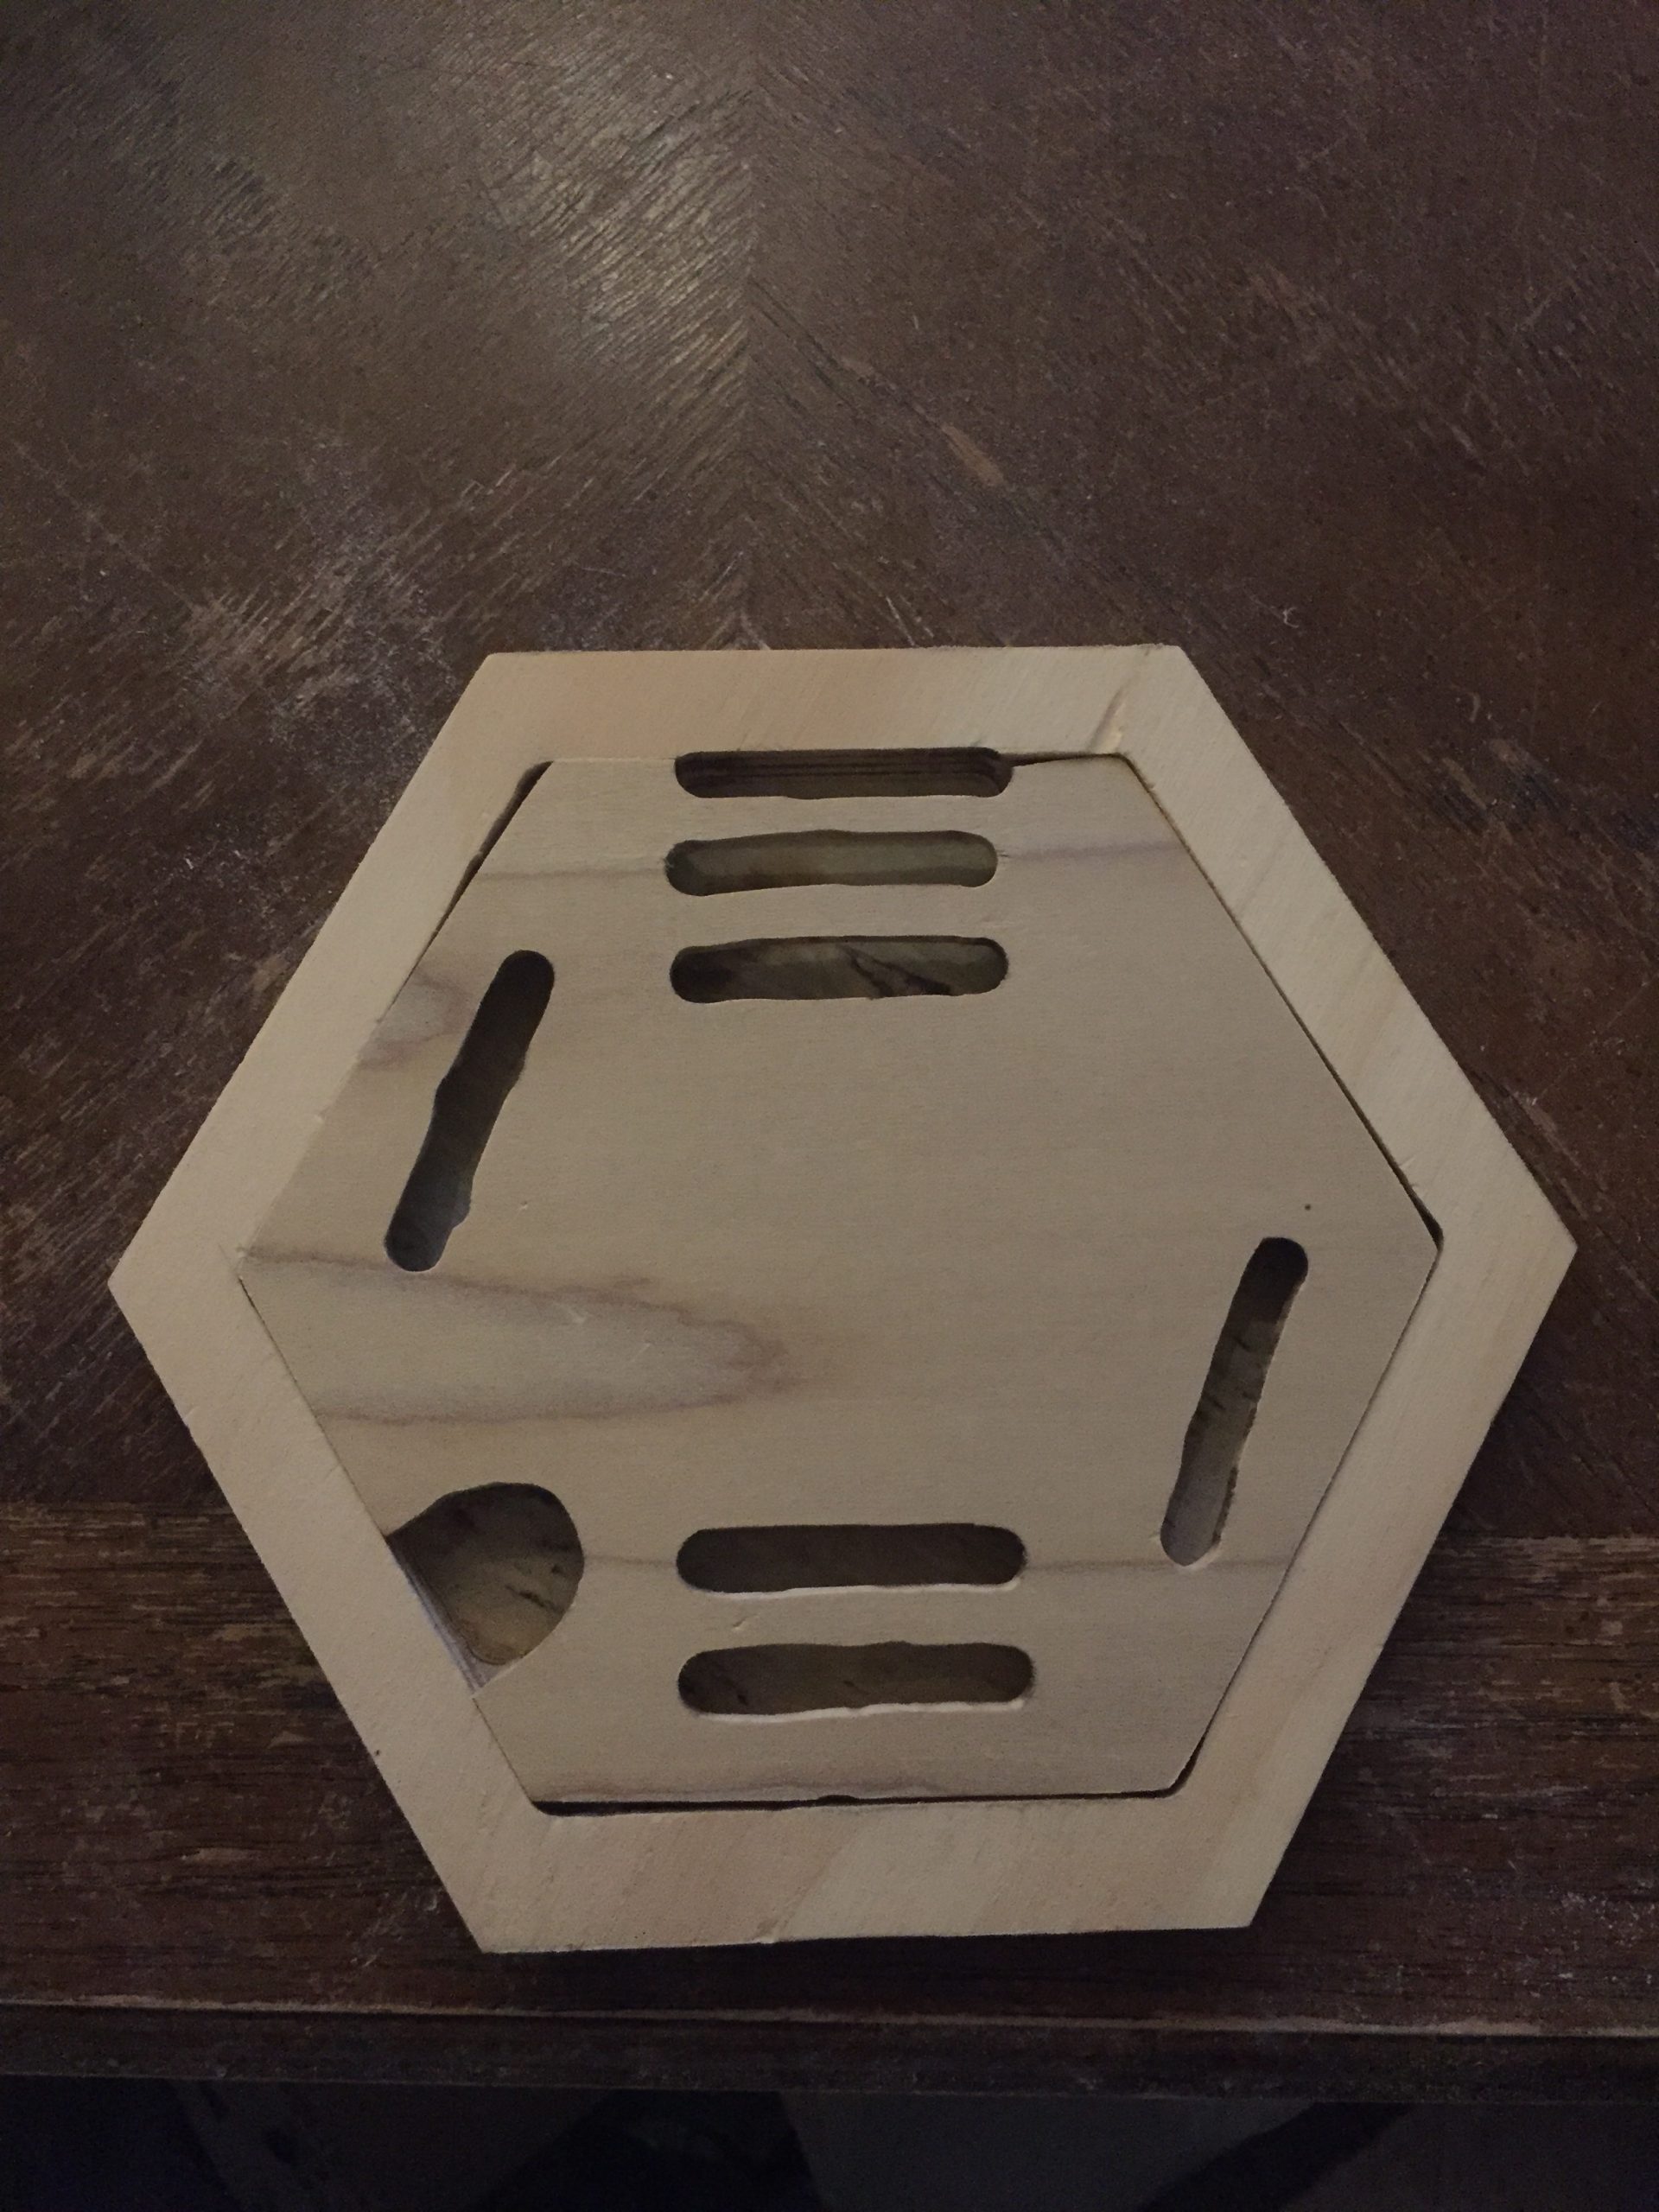
We had to account for different routering depths in other to make room for the ribbon to be tucked inside. The little holes were for magnets to hold the lid in.


It turns out, freehand routering is hard, yo. We built a little guide that had to be reset after every cut, and it just took forever. 


Also, I don’t have a tablesaw, so cutting a straight line with a router is not the best way to do this. 


Much sanding needed to be done.


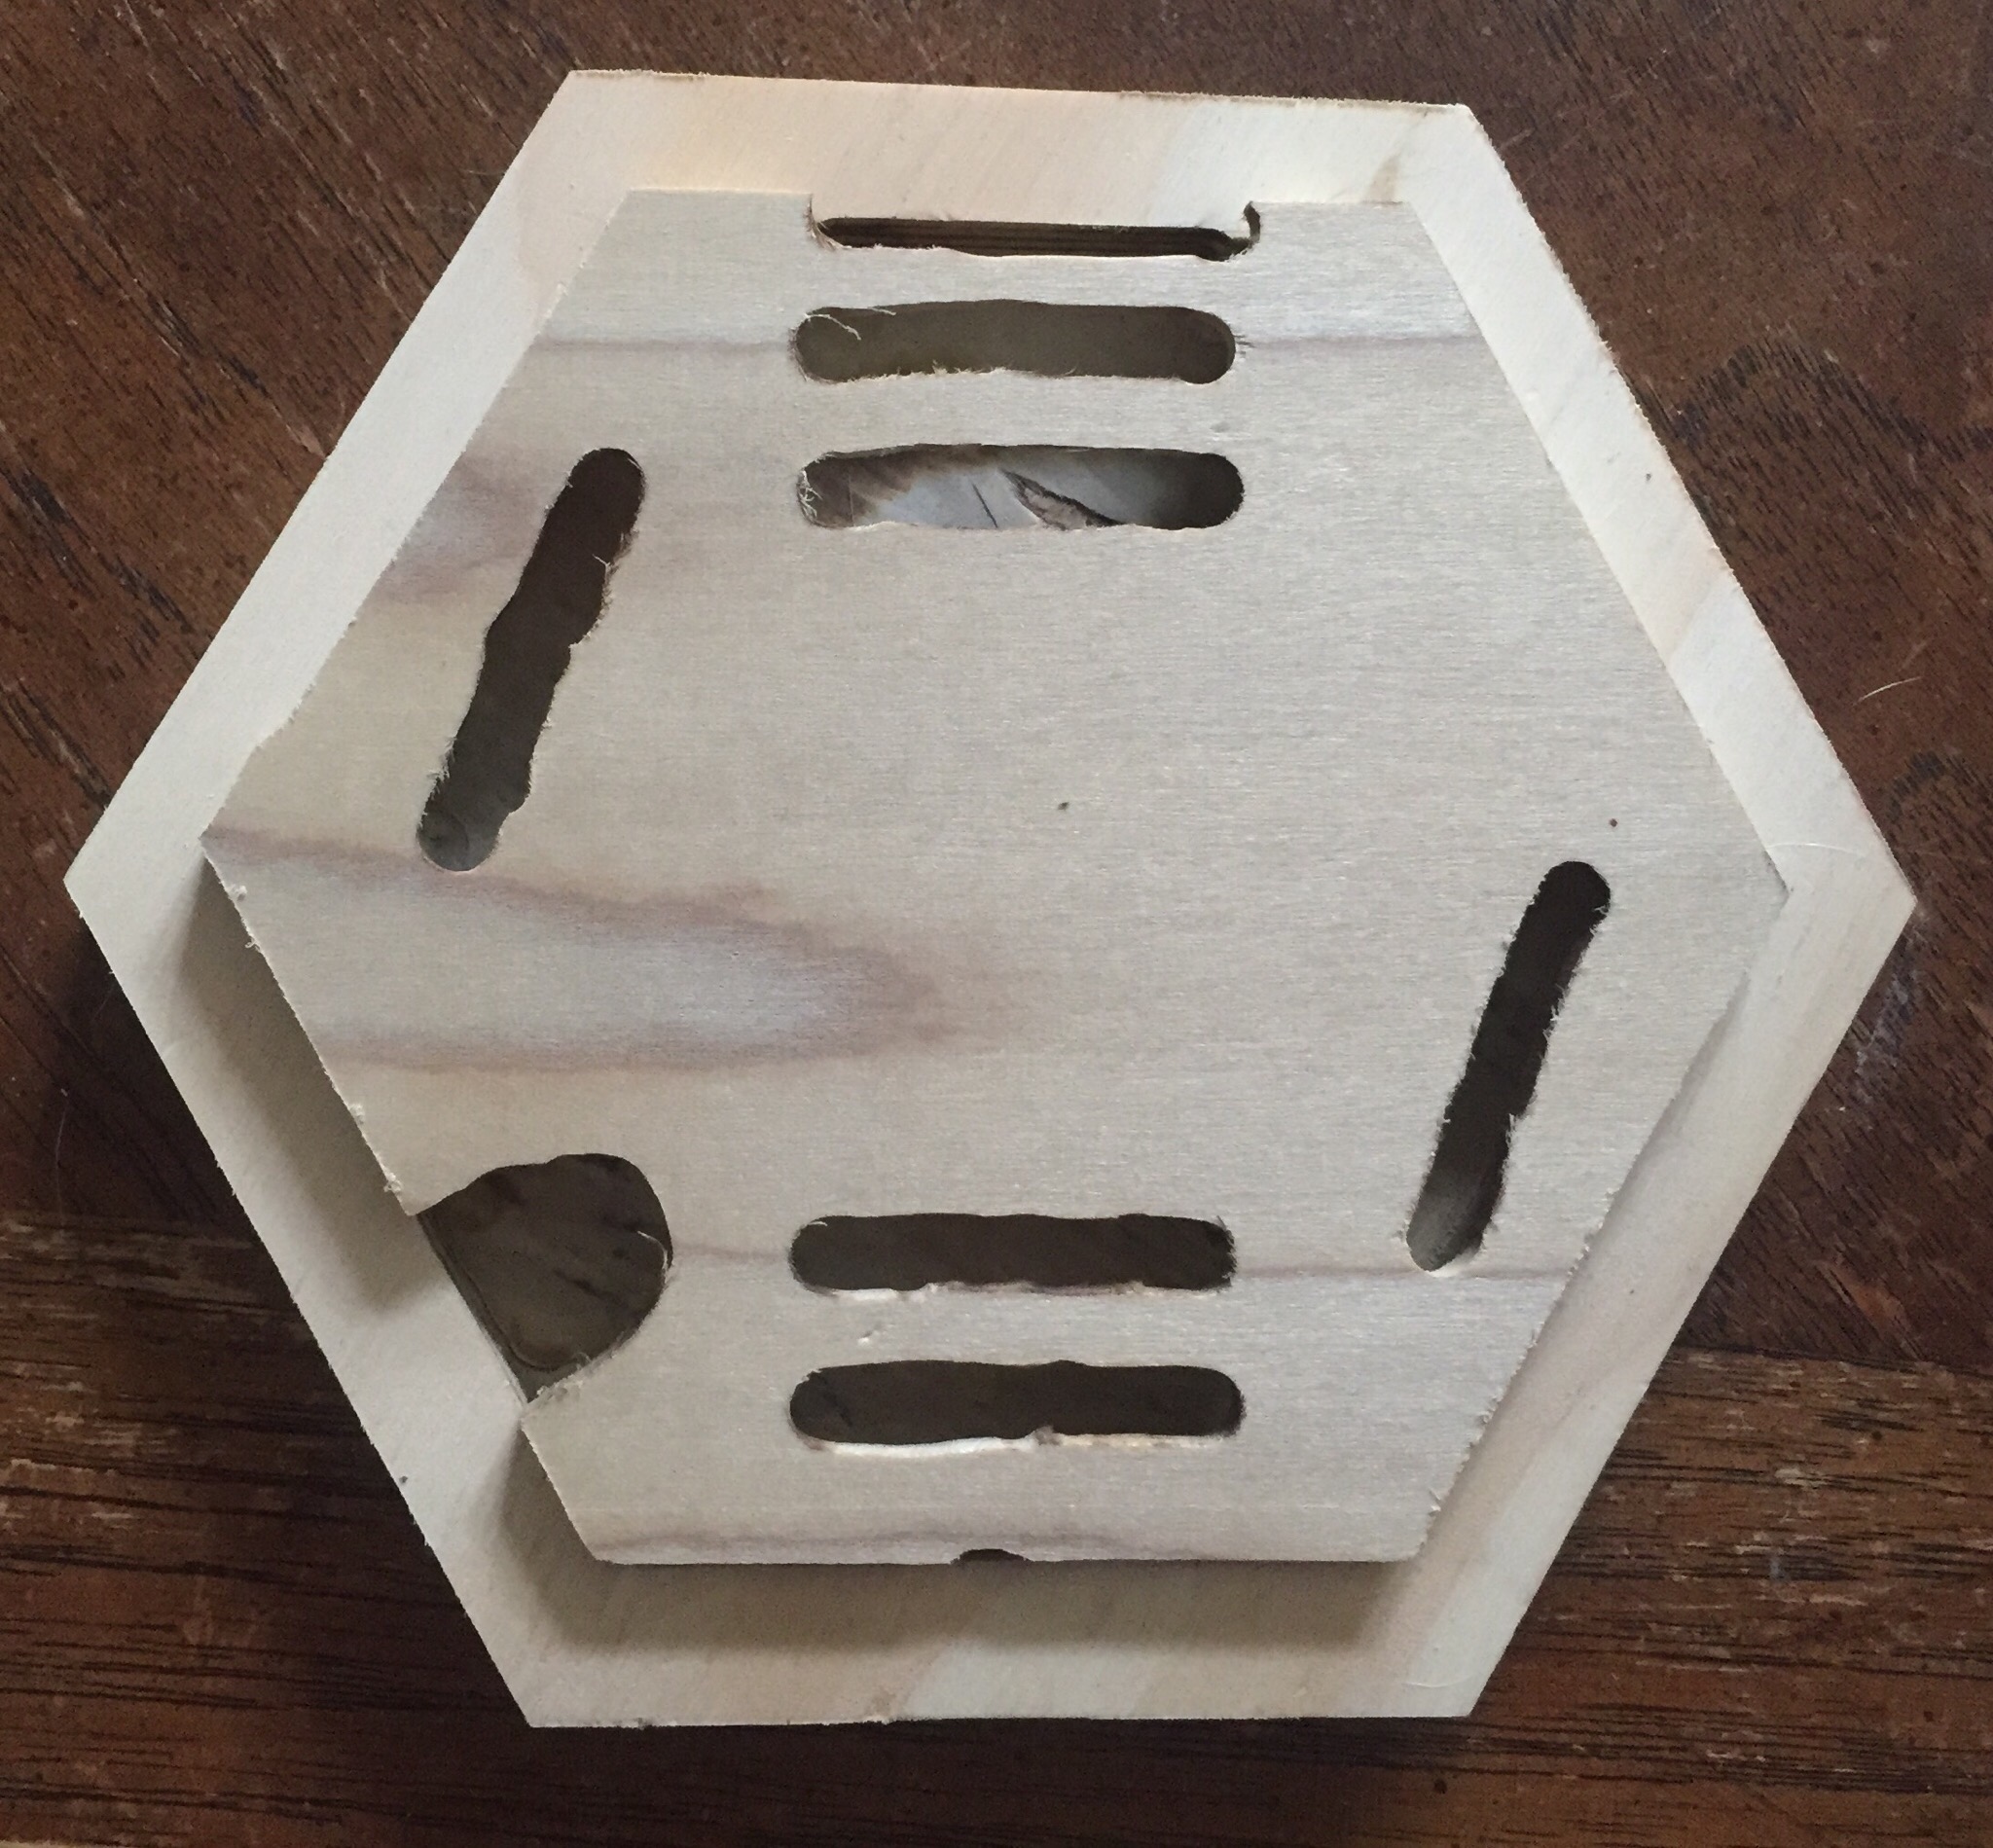
Which, of course, made the top uneven. But I managed to jam it in there without magnets. Which made a lot of that routering moot. 


In the end, it turned out okay. Now that we’ve made one, it’ll make the next one easier. 

Posted on April 3rd 2021 in Woodwork

Making a deck box

No Comments »
A few weeks ago, I noticed that some critters were getting into my recycling bin and literally eating the plastic containers. I would find them strewn all across the deck, and stashed in the shrubbery on the side of my house. They eventually resorted to eating the blue bin itself, which was completely unacceptable. I looked into buying a deck box, but none were the right size and all were very spendy. So a friend and I took to designing a box that would fit. First off – I grossly miscalculated how long it would take to build this thing. The first day was spent picking up materials. The second day was spent cutting wood and slowly building the box.
Brown cow dog cares not for your building a box
We got most of it done the second day, and were finally finished building on the third day. We used a wood putty to fill in the cracks on top, and sanded about eight gazillion times. One thing we learned (it’s a pretty big DUH): do not cut boards that are still wet!
Let’s do the time warp…
I tried to soak that warpy board in water & wood glue, and used clamps and braces to try and straighten it out, but no dice. Oh well. Because I’m a masochist, I decided to stain the thing. Now, while I am 100% a “more is more” kinda gal, this is NOT THE WAY with stain. Stain is very much a “less is more” kinda gal, which became immediately apparent when I started staining the thing. It took a LOT of coats to be really dark, and I realized that you don’t get a lot of wood grain through the stain.
To add difficulty to annoyance, I wanted to stain the top two different colours in a dog pattern. It involved a) transferring the design to the top of the box with chalk b) tracing the design to the top of the box c) digging a little trench with blades to try and stop stain leeching d) staining the top one colour many times e) staining the dark around it after and f) using a small paintbrush to stain the dark on the light. All of that = PITA.
Questioning my sanity at this point
Once the stain had dried (I’ve lost count of what day I’m on at this point), I decided to coat it in a weatherproof spray. Initially I wanted a thick resin coat, but couldn’t find exactly what I was looking for, so settled for aerosol spray. It was legit 45 degrees C with humidity in the garage, so we wrassled this fucker into the basement where I set up a fan and sprayed the bejesus outta it. After another week or so had passed (it takes forever for the spray to harden and when you do about eleventymillion coats, it takes longer), we brought it outside to live on the deck. I found some little paving stones lying around the garage and put the box on them so it doesn’t rot (even though I sprayed the bottom). You can clearly tell that the top has less stain than the sides, and I really like the wood grain look, so going forward, less stain.
Not bad!
Screw you, rodents!
The last step was installing hydraulic hinges so that it stays open by itself. I was hoping it would be soft-close (it’s soft-open!) but it is not. It will bang loudly shut if you don’t guide it with your finger. But whatever, it’s done, and I am 100% glad to be finished. The project took several weekends (3 or 4?) and cost roughly $200 CAD, with some of that being new tools like a hacksaw and a replacement blade for my mom’s hacksaw.
Posted on July 23rd 2020 in Woodwork